

It’s About Time We Treat Our Belts & Sheaves With More Respect
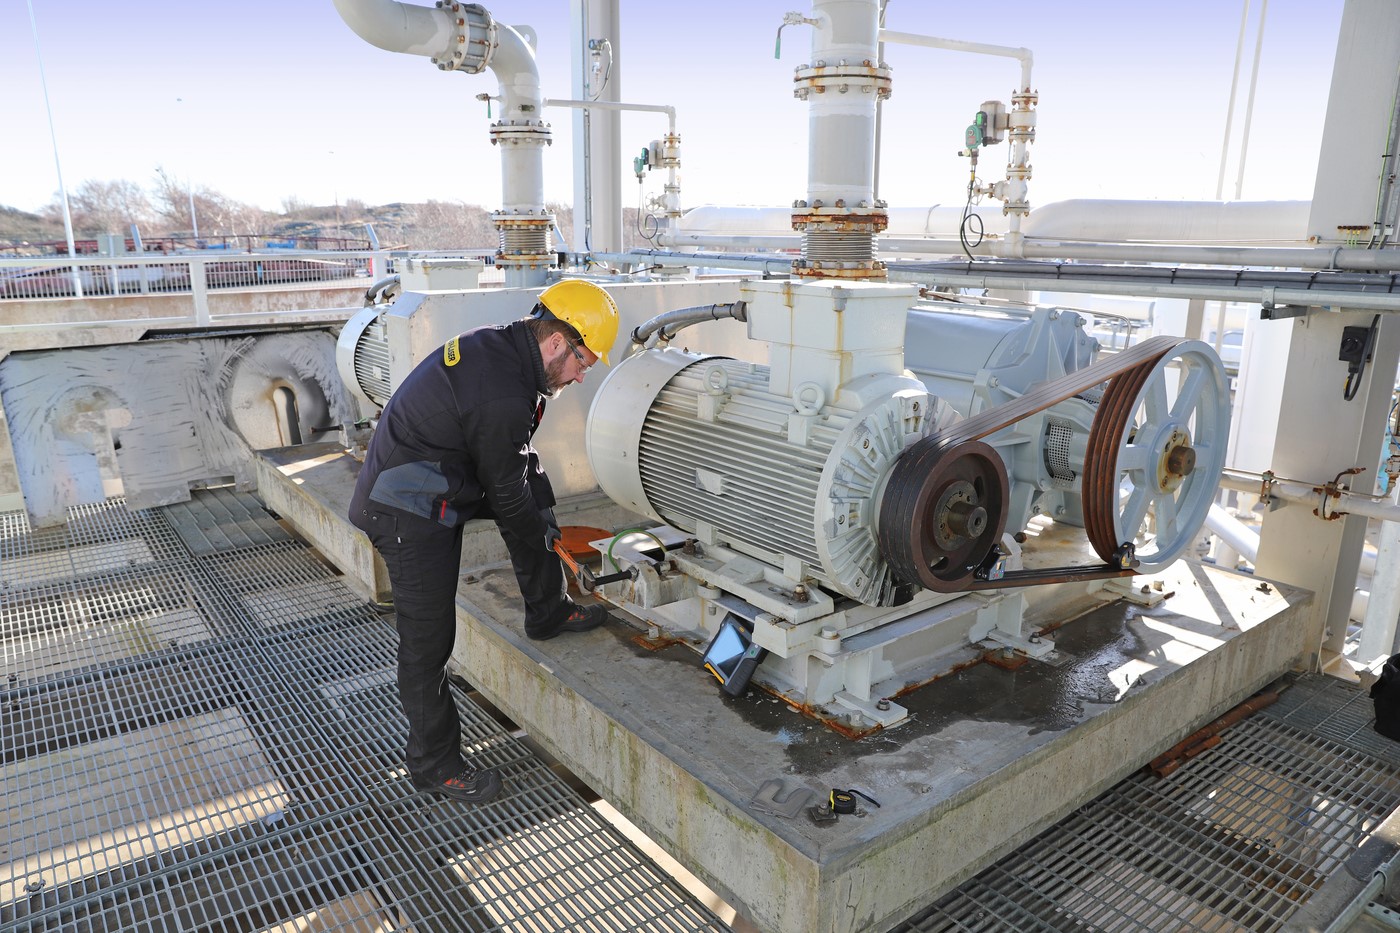
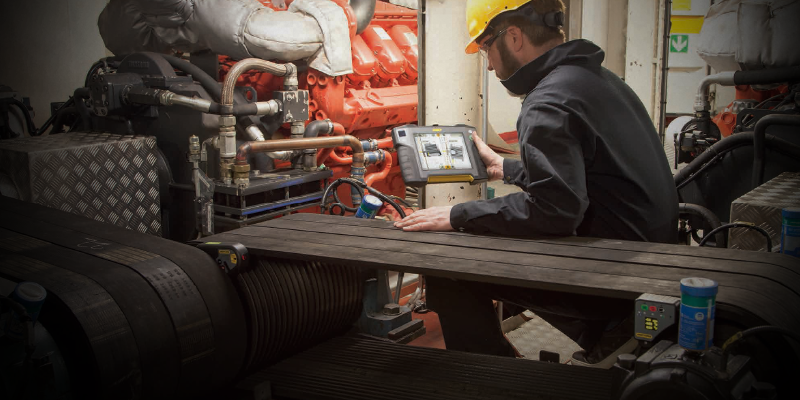
Belt driven machines are the Rodney Dangerfield of the maintenance industry – “they don’t get no respect!” For example, look at the image below. Belt driven machines do need a little bit more TLC than they currently get. I want to show you two innovations that will greatly improve your maintenance efforts on these highly efficient drives. I also want to show you why the general way in which we work with belt drives is a good example of what keeps reliability unachievable for many.
First let me say that there are some individuals/organizations who really understand the value of doing this work right. I am reminded of a gentleman called Gary Burger who wrote a very good article on improving the efficiency of belt drives. He says that he “expects to get three to five years from a belt that is running 24/7.” And I believe he gets that, and you can too. Keep in mind that this is not a roof fan that will spin forever, this is a working machine that needs sizable horsepower to turn it over.
The reason I say these drives do not get the respect they need is experience. Like many of you, I have seen belts pried off, then a new set pried on. I have seen large sheaves installed with air guns and never checked for runout, so they vibrate in the axial plane. I have seen string used for alignment or a length of angle iron from the steel rack used as a straightedge for alignment. I have seen air guns used to tension a belt so tight that the belt would not defect, even if you walked on it. And belt dressing, which was used a can at a time to try and stop the belt from squealing. All of these are not acceptable if you had planned on doing the job right. The first time.
What is Belt Misalignment?
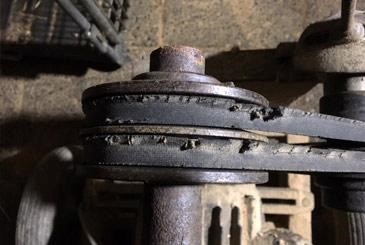
The number one reason why belts fail prematurely is heat. Heat dries the belt out which leads to cracking and slippage and the end is not far off after that. The heat is from friction caused by misalignment. To correct misalignment, we must correct the offset and angel errors in both the Horizontal and Vertical planes.
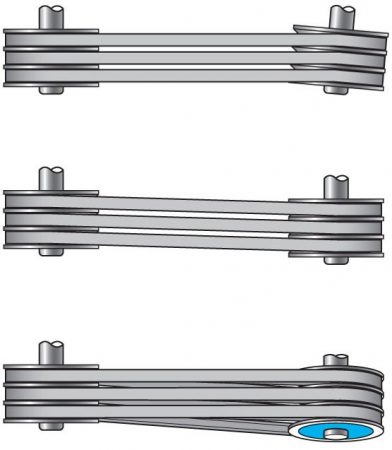
The first belt shows angular misalignment in the horizontal plane (toe-out and toe-in). The second belt shows parallel (offset) misalignment in the horizontal and vertical planes. The third belt shows a combination of angular and parallel (offset) misalignment in both planes. This is what we are normally trying to correct.
One of the reasons why it is difficult to correct this misalignment is because you are constantly correcting the alignment as you tension the belt. If you have ever worked with an adjustable motor base that has one central adjusting bolt allowing the motor to pivot as you tighten it, it is a challenge to say the least. These bases are lightweight, flexible, and cheap. The inexpensiveness is why they are used but there is a hidden cost. You do a lot more maintenance work with this type of base so there is no saving. The frustration comes from the fact that you are unaware the bases are flexing until its too late. This is because it is not something you can see by eye when using a straightedge to align the sheaves. You still must compensate or adjust the alignment as you tension the belt.
Innovations Effecting Belt Alignment
This is the first of the innovations I mentioned earlier. Its not new but it may have escaped your attention because it hides its brilliance.
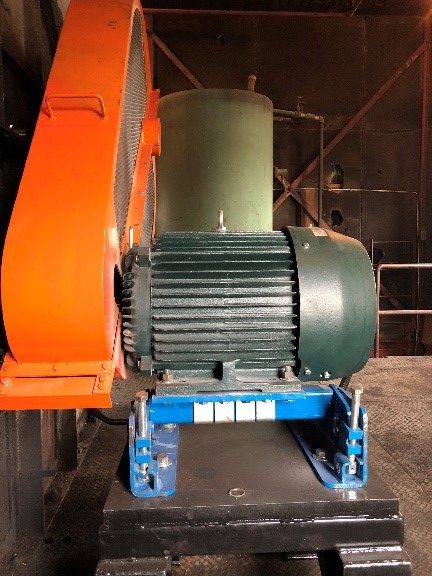
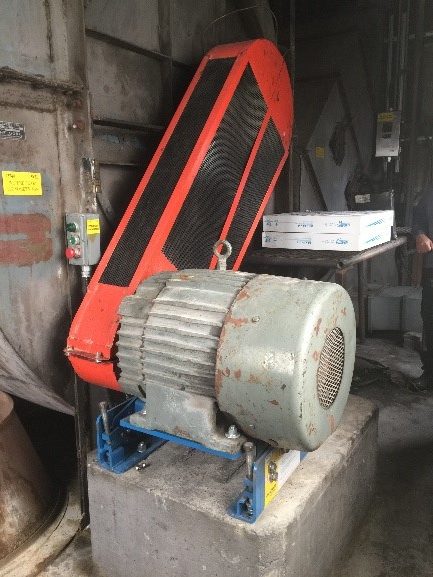
Here are two of the same style bases used to drive reasonably sized fans (Images above: Bases manufactured by Timken, photos courtesy of Mike Moshella of Timken). You see that they are taller than common bases and that is because the motor can pivot forward and back to allow for tensioning. The pivot point is square tubing that has a rubber insert which creates a resistance. This has an effect of spring loading the belt tension. This reduces the stress on the motor bearings because of over doing the tensioning. The base is solid and does not flex but allows for angular movement. Simple to install, but you still must check for softfoot or distorted footings as you normally would.
The genius of it is that it separates the two critical components of the installation of the belts. The alignment and the belt tensioning. You align the sheaves in the normal way by moving and shimming the base. Then simply tilt the motor back to tension the belt. The tensioning will not affect the alignment as the motor just comes straight back. The alignment is maintained and has no effect on the tensioning.
Its easy and efficient, provided you used the right tool to do the alignment. Look at the advances we have made in the maintenance world and yet we are still using a string or straightedge to do alignment. I would say this is still the common form of belt alignment today. Using a piece of string to align two sheaves should be left in the past. It belongs in the dark ages. I know that the Egyptians built some wonderful and accurate things with knotted rope, but I think that day has passed for us. You have to use a laser.
Why? Because when you measure with a laser you can measure the horizontal from 3:00 o’clock to 9:00 o’clock and at the same time measure the vertical from 12:00 o’clock to 6:00 o’clock. To try and do all of this with a straightedge is exceedingly difficult, if not impossible, and that is where the saying “that’s close enough” comes in.
Have a look at the other piece of innovative equipment that you may not know about. It is an XT190 wireless digital belt sheave laser alignment tool, pulleys, or chain sprockets. You can find a quick video demo of the XT190 BTA here. Or if you would like more information, watch our XT190 Training video here.
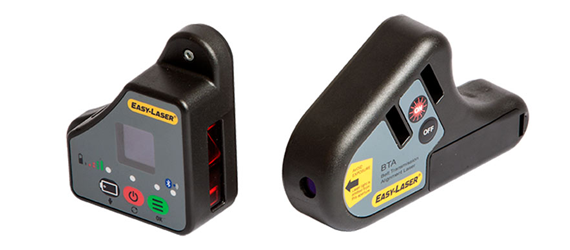
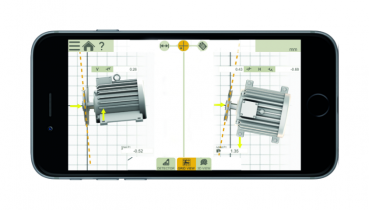
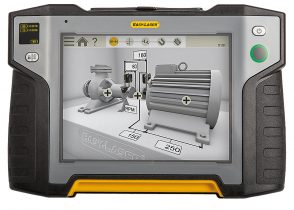
It gives a digital live time reading in metric or imperial in both the horizontal and vertical planes. It is mounted on the sheave with magnetic mounts. You can view the live time movement of the machine on an Easy-Laser display. On a tablet or even your phone using the free APP. In fact, it is the worlds only digital belt and chain alignment system!
The Alignment Process
Begin with the vertical plane from 12:00 o’clock to 6:00 o’clock and adjust by adding or removing shim from the base. We do the vertical plane first with the shimming. If you started with the horizontal plane first, moving the motor side to side and then did the shimming in the vertical plane, you would inadvertently disturb the horizontal alignment adjustments you already did. So, it’s always best beginning with the vertical, shimming the motor as necessary.
Next, correct the horizontal plane (Toe-out and toe-in). This will remove the angle from both planes. Lastly, adjust the offset sliding the sheave/pulley forward or back on the shaft. This is the same process that you can use with a visual/optical or digital laser system.
One little trick you can use is that if you place the laser transmitter on the stationary machine, a fan for example. The laser beam will point to the motor. The beam will pass the motor and will be seen on a fixed item such as a pipe or a wall, etc. If you mark where the beam is hitting and watch it as you apply the tension to the motor. If the beam moves off the mark it means the stationary machines base is flexing.
This laser system is very impressive. For me, the best feature is that you can create an As Found and an As left report in a PDF format (see below, sample “As Found” PDF report). You can e-mail this report from the display or from you phone to your customer, your boss, or the planner who can attach it to the machines history.
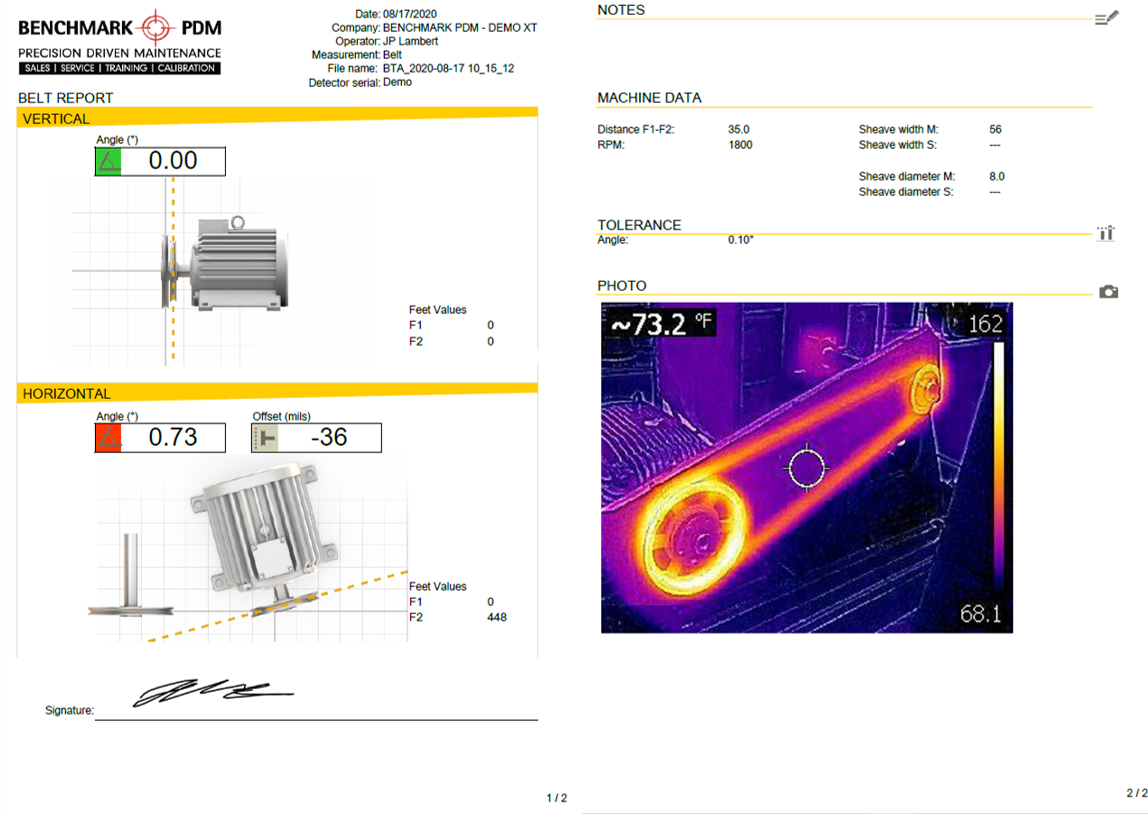
This is important because some belt drives can put production down. And if you did want to improve the asset reliabilty in your plant and decided to do some breakdown analysis after losing a belt, then without the documentaion you would only be gussing at what happened.
I said that the current way we do belt drive installations and the maintenance of them is an example of why asset reliability is unachiveable. That is because we use poor installation procedures. As an example, lets say a belt drive squeals at start up. A work order is made to tighten the belt. Is the belt loose? Or is the sheave the wrong size? Many OEM machines have the minimum size sheave that are all good when new, but when they get a little worn they slip. That is because there is limited belt rap on the small sheave. If this is the case, the repair is to replace the sheave with a larger size so that the belt has more area to grip. In my experience, what happens is the belt gets “re-tightened”, which is another way of saying it gets over tightened.
If tradesmen are still using string or a straightedge to align sheaves, the statement we are making is “close enough is OK”. The perception that a v-belt is a rubber band and can handle misalignment is wrong. And it is not just belt driven machines that are poorly installed. It is a fact that the biggest influence in a machine’s life expectancy is the installation. Therefore, the reliability of the asset is also affected.
You can also find a version of this article in MRO Magazine’s November 2020 Digital Edition here.
About Author

0 comments
Write a comment