Training Durham College Instructors How to Measure Parallel with a Laser
It’s always nice to mix business with pleasure. BENCHMARK PDM and Durham College have been working together for some time over the years on different training sessions with their students, such as teaching shaft to shaft laser alignment. In a recent case, a great opportunity presented itself to train some of the Durham instructors on the difference between using an optical measuring tool (they usually use) and their own geometric laser measurement tool
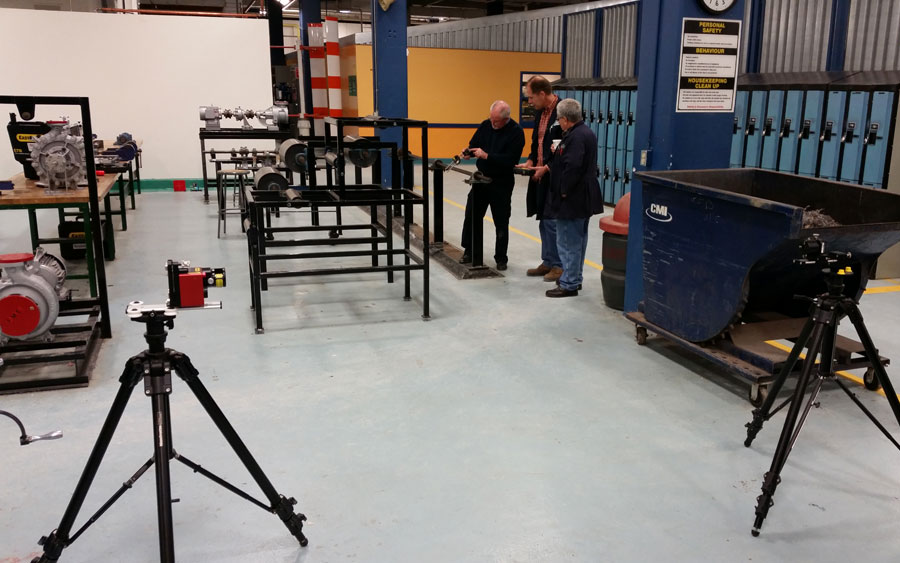
The application was how to measure and make sure a test rail (they used to teach their students various measurements with) was parallel to a reference and straight. Normally, they would use their jig transit optical measurement tool and it would take over 3/4 of a day! With the Easy-Laser E970 Parallel geometric measurement system, trainers at BENCHMARK PDM were able to show them within 1 hour! The following is a rough guide of how you would measure this application.
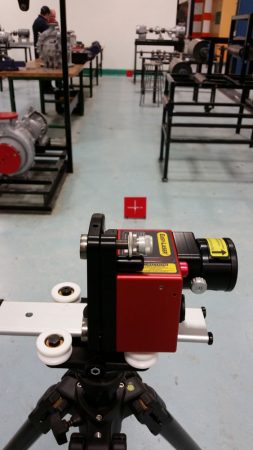
 Step 1 (PHOTO – left) – Set up laser transmitter on tripod so it can measure a straight line as a reference point. At Durham, monuments on the floor were used. Red targets were placed on top of the monuments and a straight line was made with the laser beam between the two monuments and the laser transmitter.
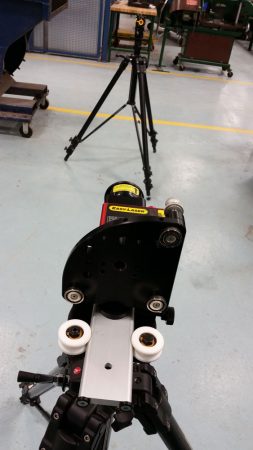
Step 2 (PHOTO – right) – After a reference was made, the laser beam is flipped 90 degrees so it shoots directly towards the angular prism. The angular prism is roughly set up inline with the test rail that is to be measured. The angular prism is then positioned so the beam from the transmitter hits it directly in the target face. This is done with both angular and offset adjustments.
Step 3 (PHOTO – below) – Once the beam is directly hitting the target of the angular prism, the beam is once again flipped 90 degrees towards the test rail. The user can then attach the detector with the proper bracket at various points on the rail and wirelessly take measurements along the rail. Once the measurements are recorded on the display unit, a decision can be made if there needs to be any corrections made.
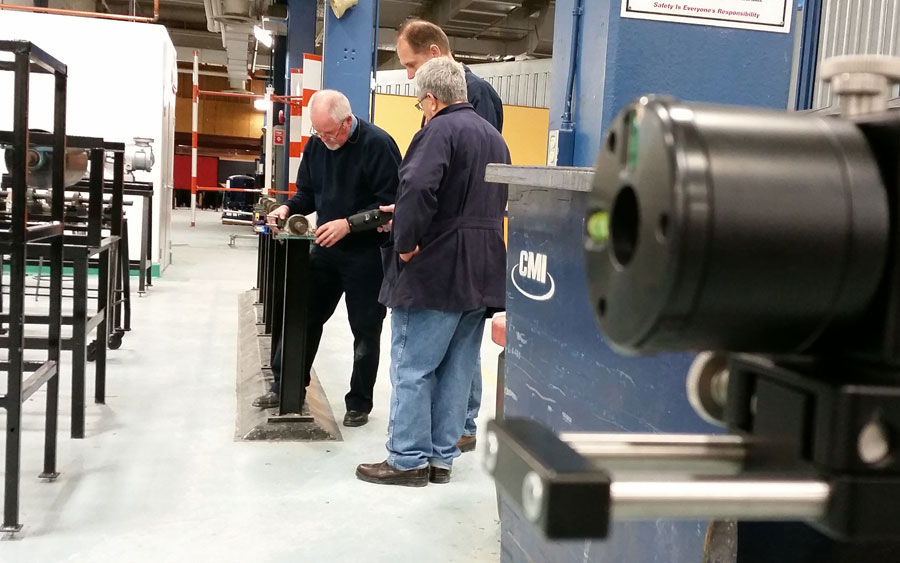
The trainers at BENCHMARK PDM had no problem taking the time out of their day to support this technical college. John Lambert (Owner and Training Instructor) said “We love coming to Durham College. We have a great relationship with the instructors here. We have no problem supporting them because we know the information is being put to good use. It makes us feel like we are giving back to the industry. As these kids are the future of our industry.”


0 comments
Write a comment